Introduction
Hey, there future Author! Since you’re reading this blog post, I’ll assume you are ready to become an author and create your aspiring author checklist. I want to congratulate you on getting one step closer to achieving your dreams. Whether you’re dreaming of writing your first novel, creating a non-fiction book, or exploring the world of poetry, creating an aspiring author checklist can be a powerful tool to guide your journey. I wish that I had a checklist when I began my Author journey.
All I had was some journals from previous years of writing my thoughts, a self-publishing course, and a goal to become self-published.
In this blog post, I’ll share some practical steps and techniques to help you create your Aspiring Author checklist in less than 30 days. Let’s get started!
Personal Anecdote
Before we jump in, I want to confess that I don’t know why it took me so long to write a blog post regarding a checklist to help aspiring authors. Well, I DO know why. Building a business has many moving parts so my attention was elsewhere. That’s beside the point!
My aha moment came after thinking, “Hey, I’m a self-published author.” It would make the MOST sense to share with other aspiring authors the exact process I followed to become a published author in 30 days.
You might think that writing and publishing an eBook is a difficult process but it’s not. The journey to becoming a published author can be enjoyable if you know what to do.
Here are four clear actionable steps to include on your aspiring author checklist.
Define Your Writing Goals and Vision
Set Clear Objectives:
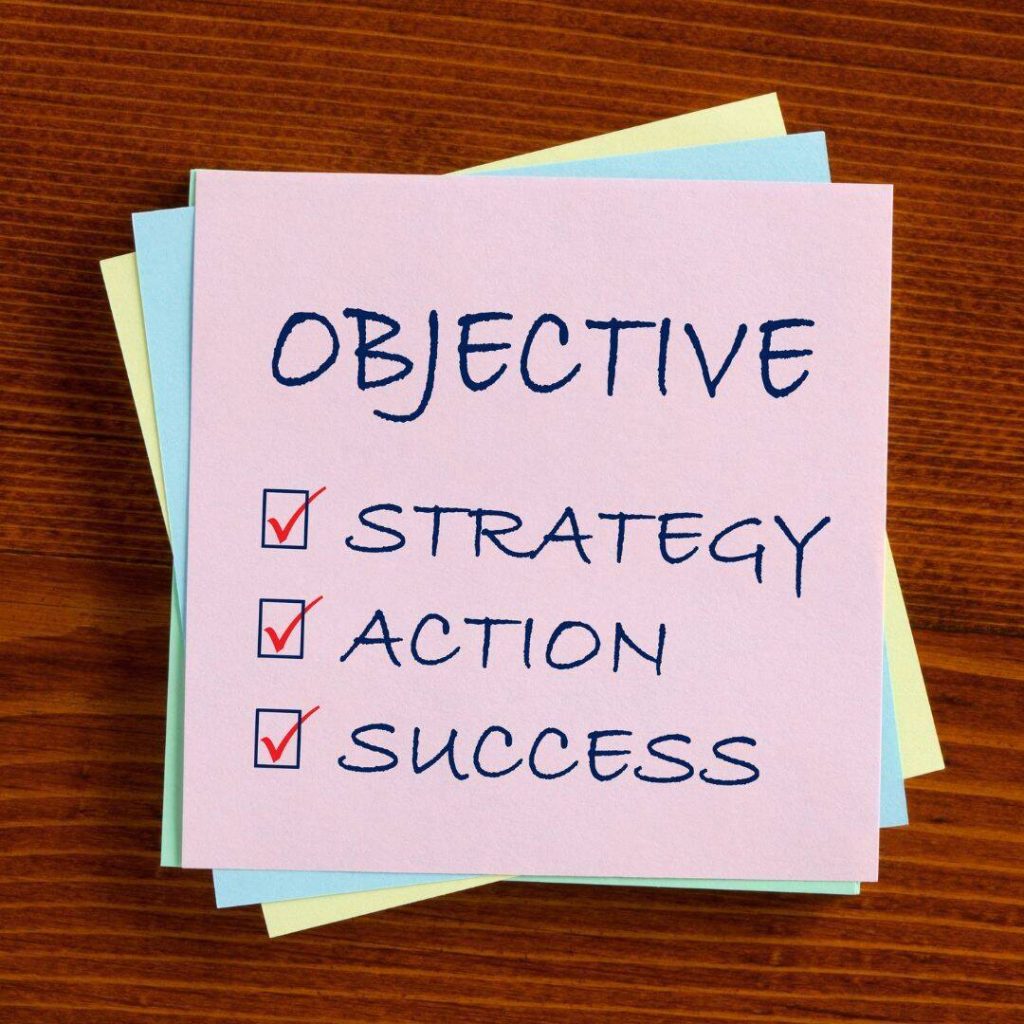
Write down your specific writing goals, such as completing a manuscript, getting published, or building a loyal readership.
When I was in the process of writing my first book, I honestly didn’t have any clear goals in mind. I knew that I wanted to make money online by writing 25-page documents. Sounds pretty simple, right? I also knew that I wanted to write on a topic that I was very familiar with and that others could relate to. Loyal readership was very much a part of my writing goals.
The course that I took recommended that I write fiction because it sells better than nonfiction but I went against the recommendations and followed my instincts. The course taught me how to self-publish so I didn’t have to look for a publisher.
When writing your manuscript, get it formatted and edited by a professional. You can do it yourself but I recommend hiring a publisher or a business that provides book-writing services.
Define Your Audience

Identify your target audience to tailor your writing style and content to resonate with them. This has to be one of the most important steps on your aspiring author checklist. If you don’t identify your audience, you will attempt to write for all audiences and end up not attracting your ideal audience. When I wrote about my experience with anxiety, I had myself in mind. My book attracted people with anxiety, but not the anxiety action takers.
When writing your book, make sure to have your result in mind.
For example, if your book is about heartbreak, make sure to write with your end solution in mind – getting over heartbreak. Otherwise, you’ll attract readers who just want to wallow in their heartbreak and not do anything about it.
Build Your Author Brand

Creating your unique author brand will set you apart from other authors. When sharing your story, always make sure to share your expertise. Also, be transparent about your journey so that readers will begin to know, like, and trust you. This is all important when building your author brand. When I became a first-time author, I began the R.A.C.E to Recovery for my readers who were dealing with anxiety. This set me apart as an author. Sharing my story set me apart as well since no one else has my story.
Research Publishing Options

There is more than one way to publish and of course, there are several publishing platforms. You can choose to publish traditionally, or self-publish through Amazon, IngramSpark, etc. You can also hire a Self-Publishing Company to help you, such as my Publishing Company. Whatever you decide, make sure you choose a publishing option that works best for you.
Create a Writing Schedule
Writing your book can seem overwhelming if you try to get it done all in one shot. I would suggest that you make yourself an outline. Once you outline your chapters, create a writing schedule to focus on writing on each chapter. Maybe you want to spend 30 minutes writing your intro. Then you may want to take an hour or two on your first chapter depending on your book’s length. Take 30 minutes a day until each chapter is complete. Do you think I finished this blog post all in one day? I did not! I’d work on a section and then return the next day or when I had time. You can do the same.
Develop Your Writing Toolkit
You are now at a point where you are ready to sit down and write your book! What tools will you use? Will you use old-fashioned pen and paper? Do you prefer more of a digital format like myself? I rarely write an outline with pen and paper. I’d end up typing my work anyway and who wants to do double work? I suggest that you do what works best for you. If you’re a pen-and-paper type of person then go for it. If you decide that you want to go straight to typing, I use Google Docs. You can use Google Docs, Microsoft Word, or Scrivener.
Gather your resources
You can also gather writing resources such as guides, books, podcasts, or online courses. I mentioned previously that I took a Self-publishing course.
Build your Network

It would be excellent if you could build a network of supportive writers! When I took my self-publishing course, there was a Facebook community of self-published authors and aspiring self-published authors. Unfortunately, I didn’t utilize the community to the max. However, I made one friend who helped me set up my email list and landing page in the book funnel. He was helpful. Don’t make the same mistake of not utilizing the community. You may even find some friends to give you a review once your book is published!
Set up your Space

Also, set up a space that will motivate you to write. It could be an office space at home or a small space in your room. I take my calls and write all my blog posts, and articles in the same space.
Create Your Book Outline and Plan
Brainstorm Ideas

Before writing your book, you should brainstorm your ideas. Brainstorming gets your creative juices flowing. Before writing my first book, I brainstormed topics that were interesting to me. I brainstormed meditation, healthy eating, anxiety, and others. The topic that stood out to me most was anxiety and so I decided to write about it.
Outline Your Book

The next step after brainstorming your ideas would be to outline your book. Be sure to outline your chapters and key points. When I wrote my book about my experience with anxiety, I included my introduction. From my introduction, I began with my childhood and each type of anxiety that I experienced. I dedicate a chapter to OCD, Fear of Heights, Agoraphobia, social anxiety, and much more. And the third part of my book began with the turning point and solution to managing anxiety naturally. Keep in mind that your outline should flow so all you have to do is go in and fill in the content.
Develop Character Profiles (For Fiction)
Character development is usually for nonfiction writing. If you are writing a fiction book, be sure to give details about your character and their role in the story. Are they the main character? Is it a supporting character? How do they add value to your story? What’s his/her background?
Research and Gather Content for your Aspiring Author Checklist
If you are writing a book, especially nonfiction, you must research your topic. I knew a lot about anxiety from personal experience and going to therapy throughout the years, but I still had to do my research. I Googled natural remedies for anxiety. Researching the definition of anxiety was important because everyone does not experience it the same way. Another good practice would be to look up mental health blogs and listen to mental health experts in the field. If your book is a romance novel, find the best romance author out there and study their work. Find any podcast or interview that they have conducted in the past. Be sure to do your due diligence in researching your book topic thoroughly.
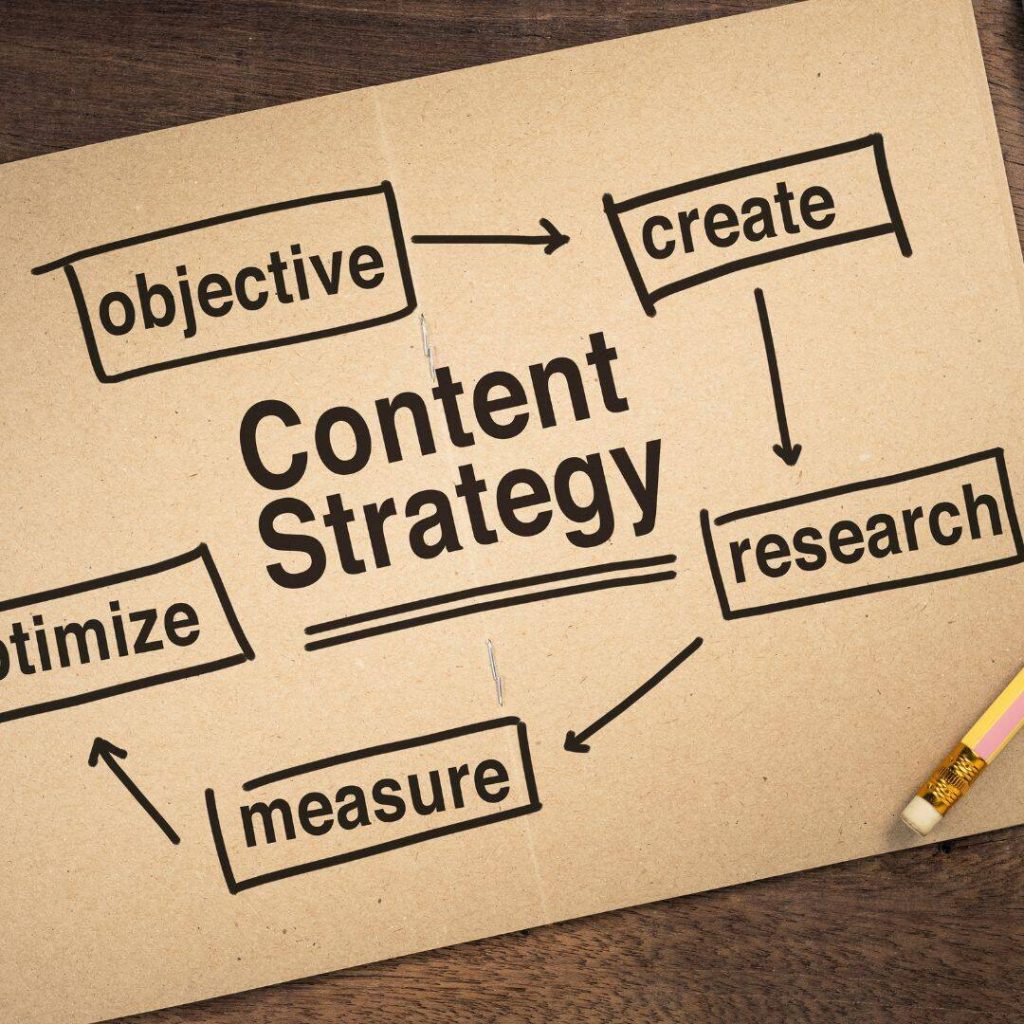
Create a Writing Roadmap
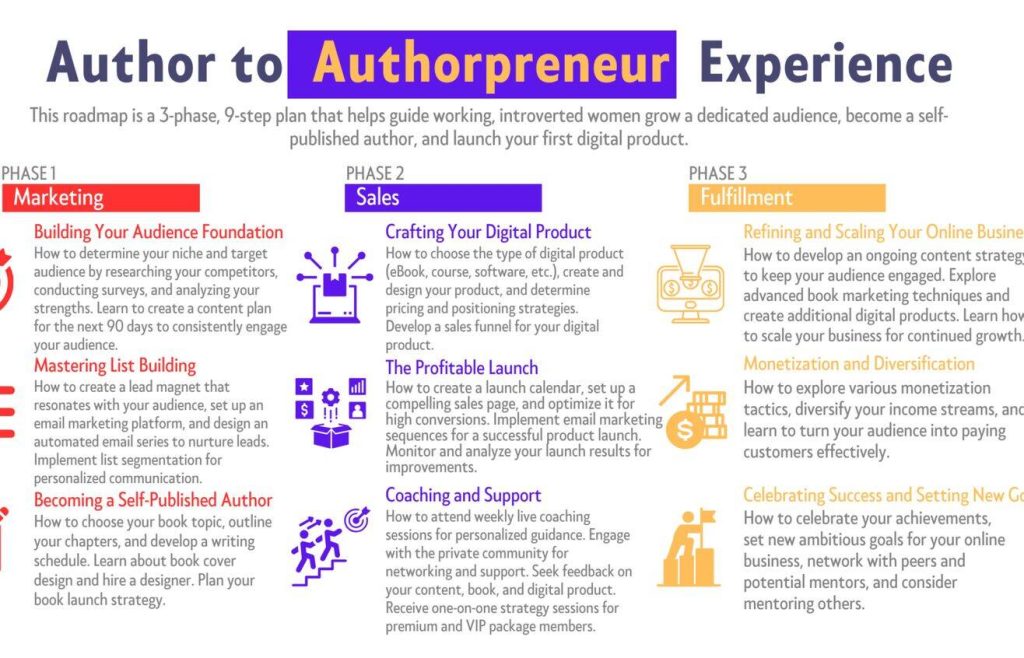
While creating your aspiring author checklist, it’s important to create a roadmap for your writing process. Whenever I meet a potential client who wants to self-publish, I walk them through my Author to Authorpreneur roadmap which shows them how to go from Author to Authorpreneur in 90 days. It’s broken down into three phases and we spend 30 days on each phase.
When you are writing, make sure to break your writing down into manageable sections. Rome wasn’t built in a day so you shouldn’t try to write your entire book in one day. It took me about three months to write my first book! Maybe you can spend a week or two writing your first couple of chapters. If you need longer, you can take more time. As long as it’s doable for you there is no right or wrong amount of time. As long as you give yourself a timeline and deadline and have said section completed you will do well.
Execute Your Writing Plan and Refine Your Checklist
Start Writing

If you’ve followed all of the previous steps on your aspiring author checklist, it is now time to start writing! Refer back to your outline and start filling in the content, beginning with your introduction. Remember to always include your expertise when writing. Readers want to learn from your experience if it relates to your book topic. Open that Google Doc, Word Doc, or whatever writing tool you choose, and get going!
Stay Consistent

Staying consistent will be the most difficult part. Don’t judge yourself for it because you are human and getting distracted is expected. I know that I have trouble with consistency but when I am determined enough to complete something, I get it done. I feel a little jolt of excitement when I’m nearing the end of a blog post. If you send yourself a writing routine, you will reach your writing goals much quicker.
Revise and Edit

When writing your first draft, it does not have to be perfect. Let it flow and get your ideas out of your head. Once you’ve gotten everything written down, go back to revise and edit. Unless you are an AI tool, there’s no way that your manuscript will be perfect. Even manuscripts written with AI tools have to be proofread and revised. Revising and editing your manuscript is essential for improving clarity and checking for grammatical errors.
Seek Feedback
It would help to always share your work with other readers, writers, and reviewers for feedback. This is where your ARC team comes in. If you don’t know what an ARC team is, it is a team of people who receive a free copy of your book in exchange for an honest review. The ARC team will be honest about your work. If they love it, they will tell you. And if they hate it, they will let you know also.
Update Your Checklist
After you create your aspiring author checklist, make sure that you update it. What are some topics that you completed that can be taken off? What are some topics that can be added and updated to the checklist? Did you complete your first chapter? What are some challenges that you are facing when writing your book? Always update your checklist with your progress and challenges.
Final Thoughts
Creating your aspiring author checklist is an integral part of your writing journey. By tracking your progress, you will notice what’s working for you and where you may need to improve. If you follow the steps outlined in this blog post and stay committed to your writing goals, you’ll successfully navigate any challenges in writing and publishing your book. Every little step towards becoming an author counts. Be patient with yourself and go all in.
Do you need clarity on your journey to becoming a published author? Don’t go at it alone.
If you need inspiration for creating your aspiring author checklist, you can grab the Anxious Author Starter Kit.
Included in the Anxious Author Starter Kit are the aspiring author checklists. I’m even giving away a tutorial on how I build my checklists!
You can watch the video of the checklist creation process, HERE.
Don’t have the time to watch another video? Book a call with me, HERE.
We can discuss how to get you started on your Author Journey.
Frequently Asked Questions
An aspiring author checklist helps writers organize and simplify their journey toward becoming a published author. It includes assignments, goals, and strategies to guide writers through the writing and publishing process. The checklist is important because it provides clarity, structure, and accountability, making it easier for aspiring authors to stay focused and achieve their goals within a specific timeframe.
To begin creating your checklist, start by defining your writing goals and vision. Determine what type of book you want to write, who your target audience is, and what publishing path you want to pursue. I recommend self-publishing because traditional publishers look for authors with an audience size of at least $10k. If you have a smaller audience, you could benefit from self-publishing.
Your checklist should include tasks and goals related to writing, editing, publishing, and marketing your book. Several objectives were named in this article such as defining your audience, planning your writing schedule, and outlining your book. These are just a few that should be included on your aspiring author checklist.
Don’t worry if you don’t complete all the tasks on your checklist within the specified timeframe. The purpose of the checklist is to provide guidance and structure, but it’s important to be realistic. If you need more time to complete certain tasks, adjust your timeline to a pace that works for you.
For additional guidance or support, consider seeking help from writing coaches, joining writing workshops or classes, or hiring professional editors, mentors, or publishing companies. My Publishing Company, Tarafied Publishing, is here to assist you with all your writing and book publishing needs. For additional help, book us HERE.
")