Introduction
Today I am going to share with you all the steps that I took to list a new item in my Etsy shop. Listing an item in your Etsy shop has some tedious steps to follow but it is doable.
I am writing specifically about listing a digital product. Other than setting up shipping, I am sure that the process is the same for setting up a listing for a physical product.
Ready?
Create your Product
The first step that I took was to create my Healthy Hair Habit Coloring Book Journal in Canva.
If you don’t know how to use Canva, I provide Canva training and you can speak with me about my training sessions, HERE.
This blog post is not about Canva though!
Once I created my coloring book journal, I downloaded the PNGs from Canva one by one and uploaded each one to my Notion app.
Next I downloaded a total of 20 PNGs! Then I uploaded all of my PNGs into Notion, returned to Canva, and saved my coloring book journal as a template.
I then took the Canva template link and added it to my page in Notion where I saved the PNGs. Next, I exported my Notion page as a PDF.
I know I’m sharing with you all of the extra steps and I hope that you can follow along. I strongly dislike reading articles with missing steps which is why I am being as detailed as possible.
The next thing I did was head over to Etsy to add a new listing! Adding a new listing only works if you already have an Etsy Account.
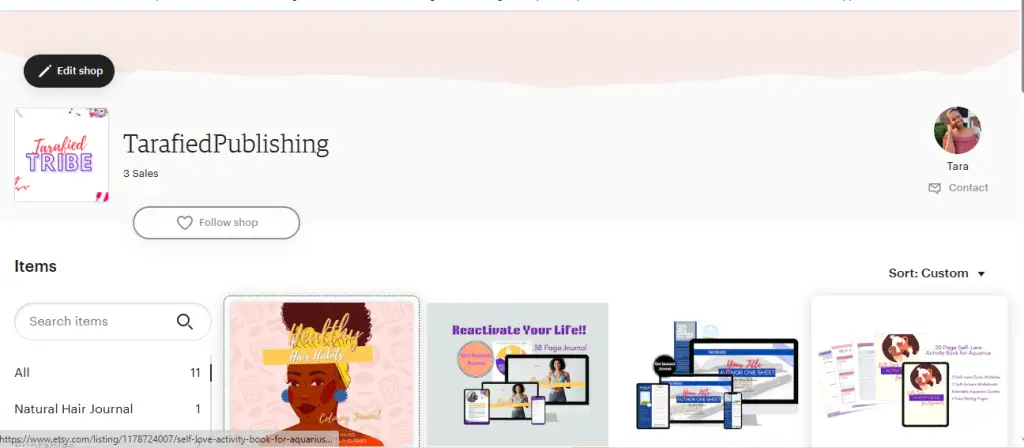
Edit Shop Button.
To add a listing, click the “Edit shop” button over in the top left. You will see the “edit shop button in the image below.
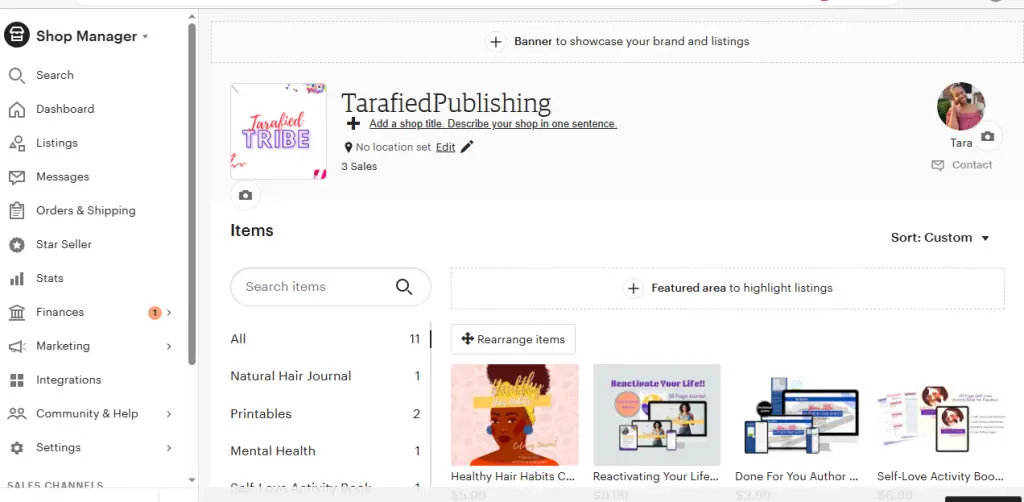
Etsy Shop Manager.
Under Shop Manager, you will see the “listings icon”, 3rd icon down on the left under Dashboard.
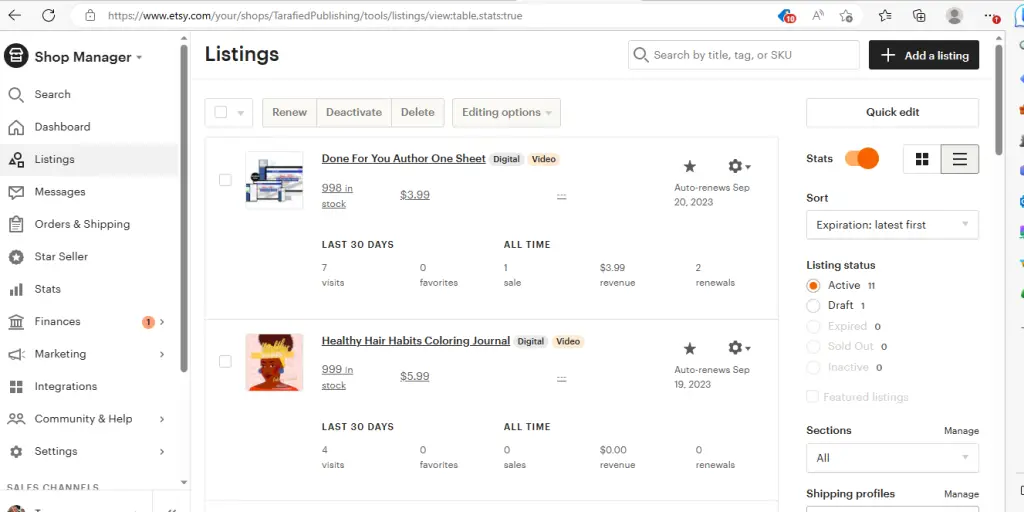
+ Add a Listing
Once you click on listings, you will see “+Add a listing” in the top right corner. Simply click this button to add a new listing.
From this point is where the “Hell” I mean excitement began. I only said Hell because I couldn’t recall the correct size of the thumbnail.
Google and YouTube helped me determine the best size for an Etsy thumbnail.
I saw online that the thumbnail size should be 570 X 456.
Then I read that the listing image size should be 2000px. This was VERY confusing.
Another article mentioned that the main image size should be 3000px tall X 2250px wide.
I went back to Canva and resized the listing cover image as 3000px X 2250px, downloaded it, and uploaded it to Etsy to see if I would have any thumbnail size issues. It was fine. Then I went ahead and downloaded the remaining images as the same size.
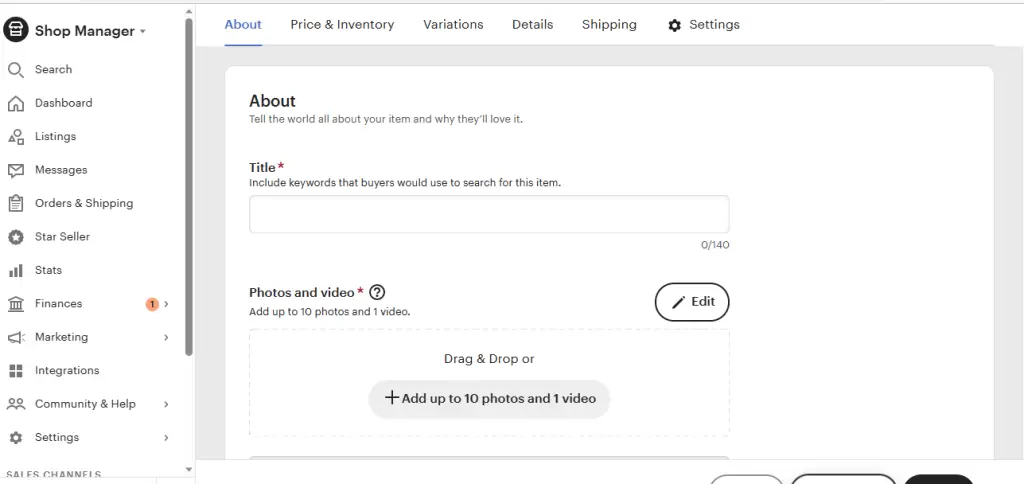
Upload up to 10 images and One Video
The image below shows where you can upload up to 10 images and one video of your product. (New version of Etsy).
I ran into an issue when uploading the remaining PNGs. I was trying to be lazy and not change the size from 3000px X 2250px but they were the wrong size.
Etsy recommended images to be 2000px so I went BACK TO CANVA and resized my remaining color pages.
I uploaded the 2000px images to Etsy and they were the correct size.
This was a learning experience for me. I knew that going forward, for 2023 anyway, the acceptable thumbnail size for Etsy was 3000px tall x 2250px wide. The remaining images were acceptable at 2000px.
I then recorded the short 5 to 15-second video for my newest Etsy product from my phone. I recalled getting a “video too tall” notification when uploading a previous product video to Etsy. Damnit! I uploaded the video into PowerDirector, my video editing software, to crop it down.
Etsy recommended a 4:3 or 3:4 ratio. I cropped the video to 3:4 in PowerDirector. I uploaded the video to Etsy and it was the correct size.
Trial and Error
As you can see, there was a lot of trial, error, and frustration in the product creation process. If you haven’t clicked off to somewhere else and are still reading, I appreciate you! I will quickly tell you the remaining steps I took to add my new listing.
I used the old version of Etsy to create my listing. They do have a new version so if you don’t have an Etsy account already, you will probably be provided with the new format to start your listing. I’ve included screenshots from both formats because the new version is missing some of the steps. They are coming soon!
The first step in the old format was to tell about the listing – who made it, what is it, and when did you make it? Then select the category. I selected journals and books as my category.
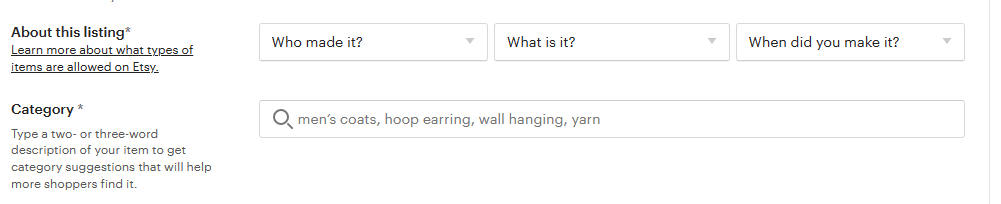
The next thing I did was select between digital and physical products. My products are always digital because I am in the printables business. Next, I never change the renewal options. I always leave it on automatic. (The image below is Etsy’s old format).

Add Your Description.
The next thing I did was add my description. (New version of Etsy image below).
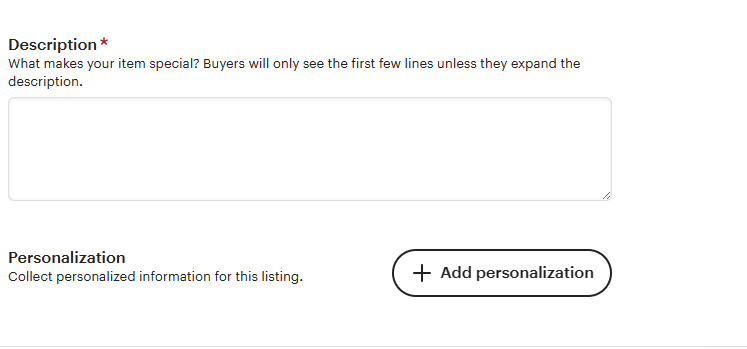
I did not add any personalization.
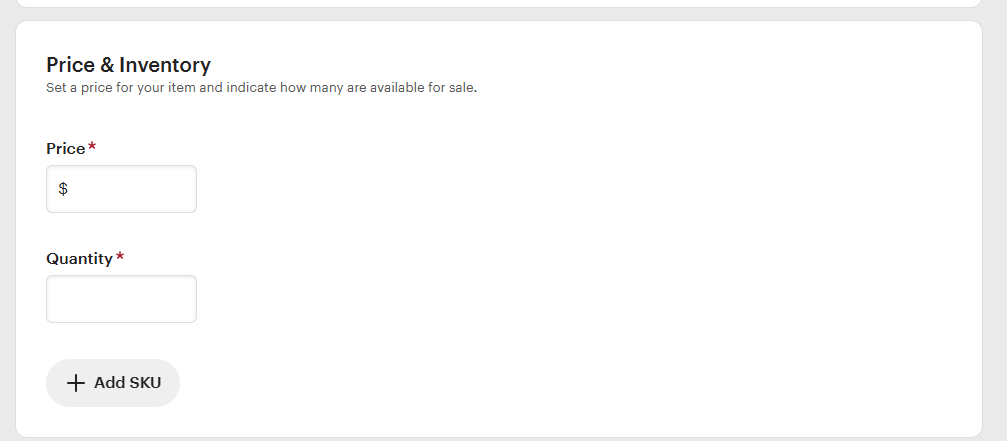
Pricing and Inventory
After adding my description, I added my pricing and inventory. I always enter my inventory amount as 999. (New version of Etsy image below).
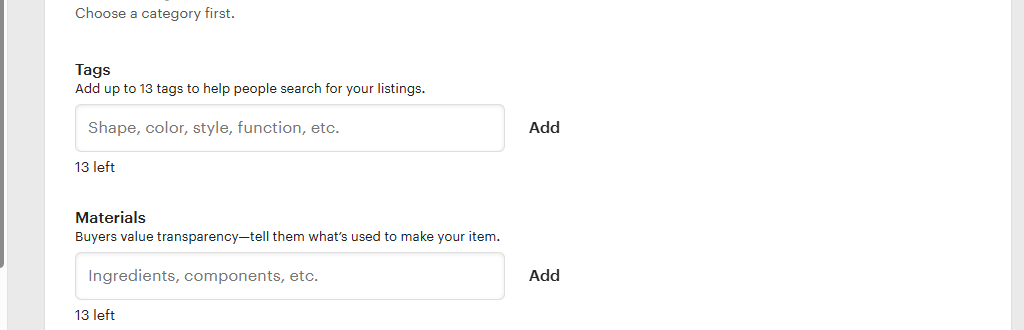
Adding Tags
Adding tags to my listing was next on the list. Etsy allows you to add up to thirteen tags to help customers find your shop. I added tags such as coloring books, and digital journals, but you will add tags related to your product. (New version of Etsy image below).
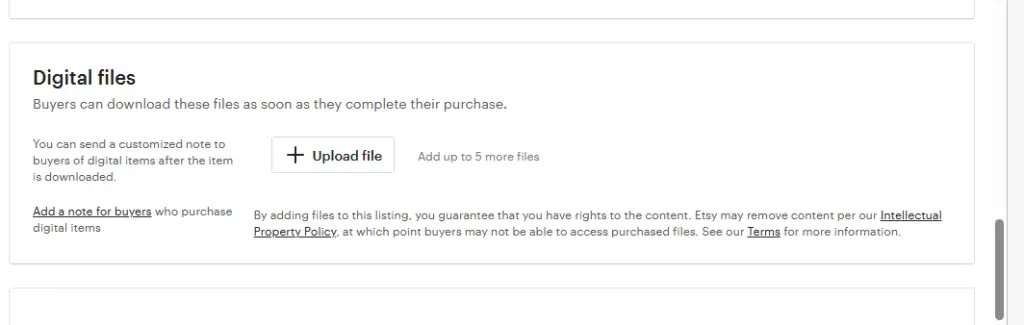
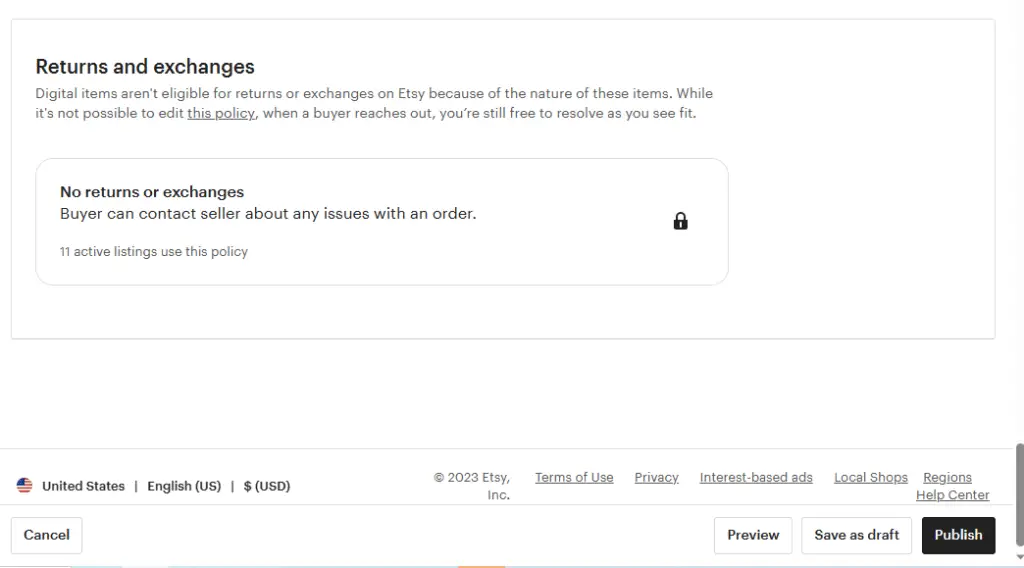
The Final step.
The final step(old version of Etsy) was to upload the digital file, hit preview, save it as a draft, or publish. Returns and exchanges aren’t eligible for digital files in Etsy so that doesn’t apply to digital product creators.
I saved my Etsy listing as a draft and can you believe that it didn’t save? I went back to it and the listing was gone!
All of my hard work uploading the photos and picking out the tags was gone. I was so upset!
All because I wanted to upload the video from my phone instead of my laptop.
I ended up having to reload all my images, rewrite the description, and repeat all of the remaining steps. This was by far my most FRUSTRATING Etsy experience.
Final Thoughts
I documented my steps to remember when it’s time to create a new listing. My documentation will help you start your Etsy shop. My goal was for you to have fewer headaches!
Now that I documented my process in this post, I can refer to it the next time that I need to create an Etsy listing. The amount of time and frustration should be significantly cut down!
Wow, I’ve written a lot! If you need clarity on how to start your own Etsy shop, feel free to Book a call with me Here!
If you understand, let me know what you think of this article!
Frequently Asked Questions
When creating an Etsy listing, you should include the following important details:
Title: A descriptive title.
Description: A detailed description of the item, including how it was made, its dimensions, and important features.
Photos: High-quality images from multiple angles.
Video: Video walkthrough of the product.
Pricing: The price of the item.
Tags: Relevant keywords to help shoppers find your item.
Category: The appropriate category and subcategory for your item.
Quantity: The number of items available for sale.
To optimize your digital product listing for better visibility and sales:
Use Relevant Keywords: Research and use keywords your target audience will search for.
High-Quality Images: Use clear, high-resolution images or mockups to display your digital product.
Detailed Descriptions: Provide enticing descriptions, including instructions for use.
Competitive Pricing: Set a competitive price by researching similar digital products on Etsy.
Utilize Tags: Use all available tags with relevant keywords to improve searchability.
Consistent Branding: Maintain a consistent style and tone that reflects your brand.
Best practices for creating images or mockups for your digital product listing include:
Professional Mockups: Use professional mockup templates to display your digital product realistically.
Clear and High-Resolution: Ensure your images are clear and high-resolution to show detail and quality.
Multiple Angles: Provide images from different perspectives to give buyers a comprehensive view of the product.
Consistent Style: Maintain a consistent visual style that aligns with your branding and other listings.
")